Full Dip Liquid Wrapping your vehicle involves a multi-step process to achieve a flawless and professional finish. First, the vehicle is thoroughly cleaned and prepped to ensure proper adhesion of the spray wrap. Next, a specialized spray gun is used to apply the wrap evenly and smoothly onto the surface of the vehicle. Multiple coats may be applied for optimal coverage and durability. Finally, the wrap is allowed to dry and cure, resulting in a long-lasting and visually stunning transformation for your vehicle.
For a longer lasting finish you can add a glossifier which will add a glossy finish to your vehicle. If a more OEM finish is required you can add a gloss lacquer which can be polished like your existing vehicle. This not only gives the vehicle a stunning finish, it also protects and will lengthen the life of the spray wrap.
You can add vinyl over the liquid wrap so you can graphic your vehicle in the normal way. Using specialist finishes including carbon fiber vinyl wrap or chrome or even a matt finish can separate your vehicle from the rest.
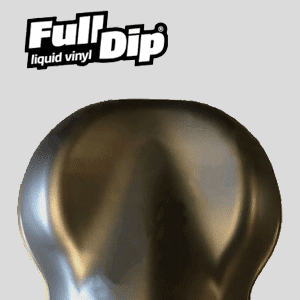
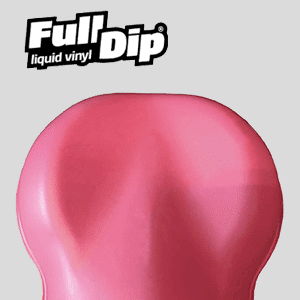
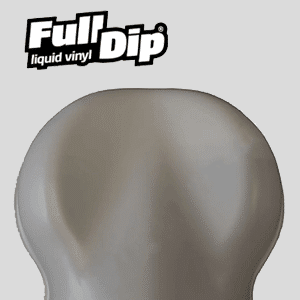
Full Dip offers a wide range of colours for their liquid wrapping. From vibrant and bold shades like electric blue and fiery red to more subtle and sophisticated options such as pearl white or metallic silver, you can find a colour that suits your preferences and style. Additionally, Full Dip provides a variety of finishes, including glossy, matte, and satin, allowing you to achieve the desired look for your vehicle. With their extensive colour selection, you can easily transform the appearance of your car and make it stand out on the road.


They also provide various finishes such as glossy, matte, and satin to help you achieve the desired look for your vehicle. A high gloss top coat can also be added which provides an OEM finish to the vehicle.
Full Dip Liquid wrapping offers several advantages over vinyl. Firstly, it provides a wider range of colour options, including vibrant shades and subtle tones, allowing you to find the perfect match for your style. Second, liquid wrapping offers a variety of finishes, from glossy to matte and satin, giving you flexibility in achieving your desired look. Lastly, the option to add a high gloss top coat provides an OEM finish to your vehicle, enhancing its overall appearance.
The cost of a Full Dip liquid wrap varies depending on the size of the vehicle and the complexity of the project. As an example a basic small car can cost as little as £1000, but a full OEM finish will cost considerably more.
Full Dip Liquid wrapping can be done professionally or as a DIY project, but it requires careful preparation and application to achieve a professional-looking result. It’s also important to follow the manufacturer’s instructions for the specific product being used, as different liquid vinyl products may have slightly different application processes.
To perform professional Full Dip liquid wrapping, you’ll need several pieces of equipment and materials. Here’s a list of what’s typically required:
Professional Full Dip liquid wrapping requires skill and experience, so it’s essential to undergo proper training if you’re considering offering this service professionally. Additionally, always follow the manufacturer’s instructions for the specific product you’re using.
Full DIp offer a massive range of colours and finishes to fit any project.
A spray-on wrap is a type of vehicle customization where a specialized liquid coating is applied to the surface of a vehicle. This coating can be sprayed onto the vehicle’s exterior, creating a protective layer that can change its color or finish. It is a popular alternative to traditional vehicle wraps, as it provides a seamless and durable finish.
Spray wrap typically lasts between one to three years, depending on factors such as weather conditions, maintenance, and quality of the application and finish. A full OEM finish will last much longer.
Spray wraps can be a good option for certain applications.
It depends on the specific circumstances and requirements.