You are preparing a quote brief, not a production drawing.
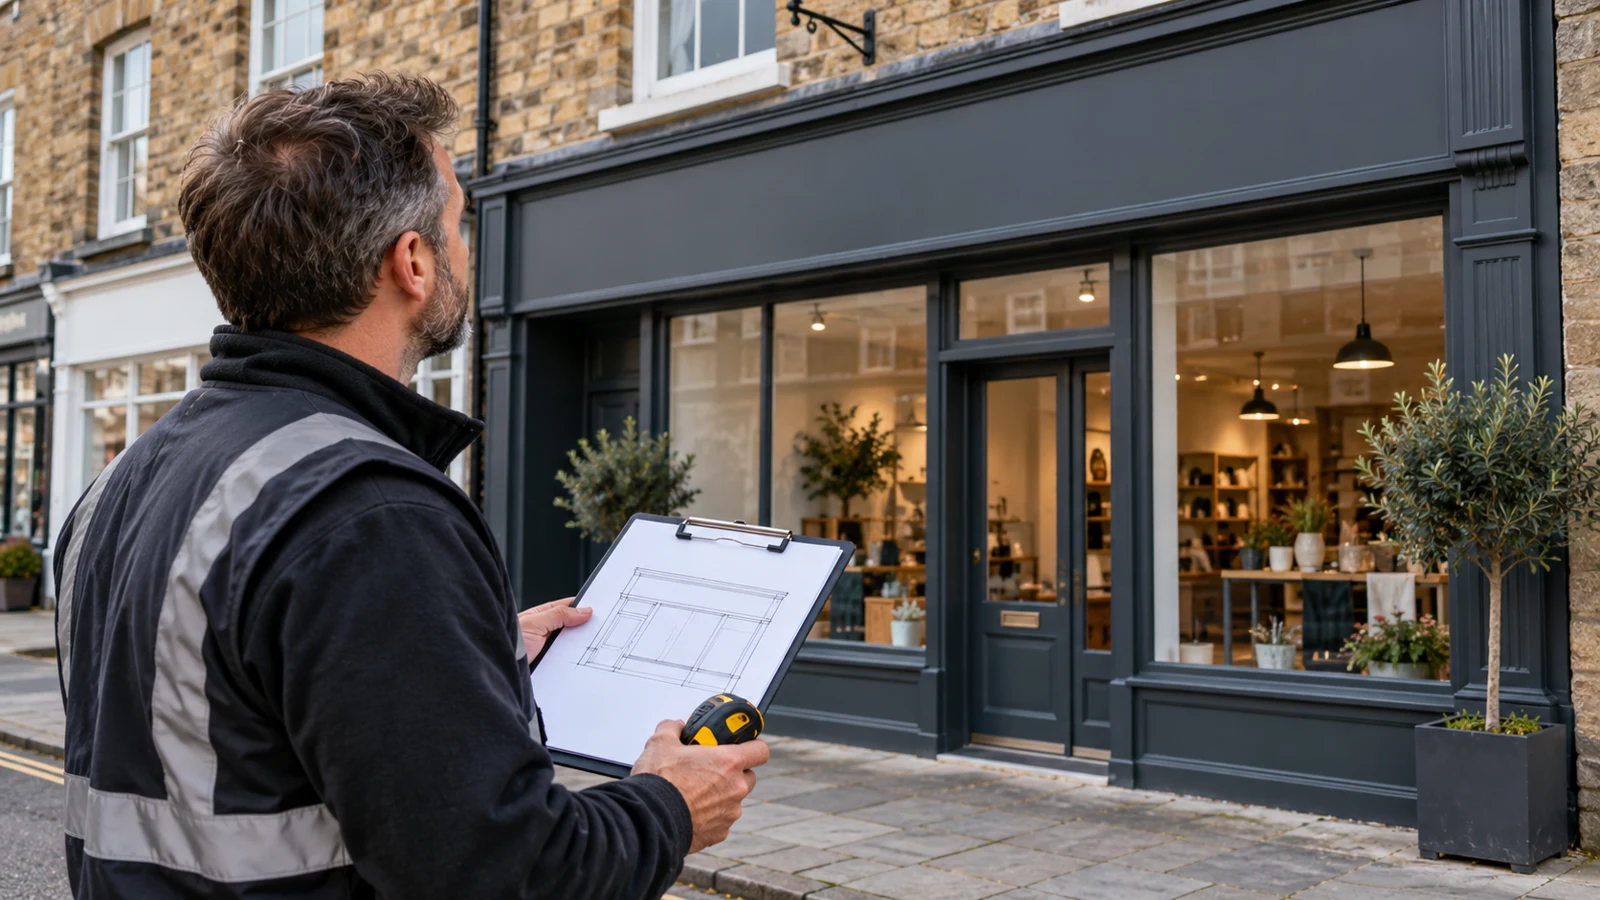
The aim of an initial measurement is to help us understand the scale of your shopfront and the sign you want. You do not need a perfect technical drawing to start a conversation. A clear photograph, a labelled sketch and approximate dimensions are usually a better starting point than an unlabelled number with no indication of where it was measured.
Treat everything you supply at this stage as information for an estimate unless a different arrangement has been explicitly agreed. Final manufacture and installation may require a professional survey. A fascia can look rectangular from the pavement while having awkward returns, uneven edges or hidden supports that affect the finished sign. Mark uncertain dimensions as approximate rather than trying to make them appear precise.
Keep your initial checks at ground level.
Only record dimensions you can obtain safely while standing on the ground in an appropriate place. Do not climb a ladder, stand on furniture, lean from a window or enter a roof to measure the fascia. If the relevant surface cannot be reached safely, send photographs and explain that the dimension needs a survey. Missing information is preferable to an unsafe attempt to collect it.
HSE’s work-at-height guidance prioritises avoiding work at height where practicable and requires appropriate planning, competence and equipment where it is necessary. This customer checklist deliberately stops at safe ground-level observations. It is not a method for accessing elevated signs, removing existing panels or inspecting electrical connections.
Identify exactly which area you want to change.
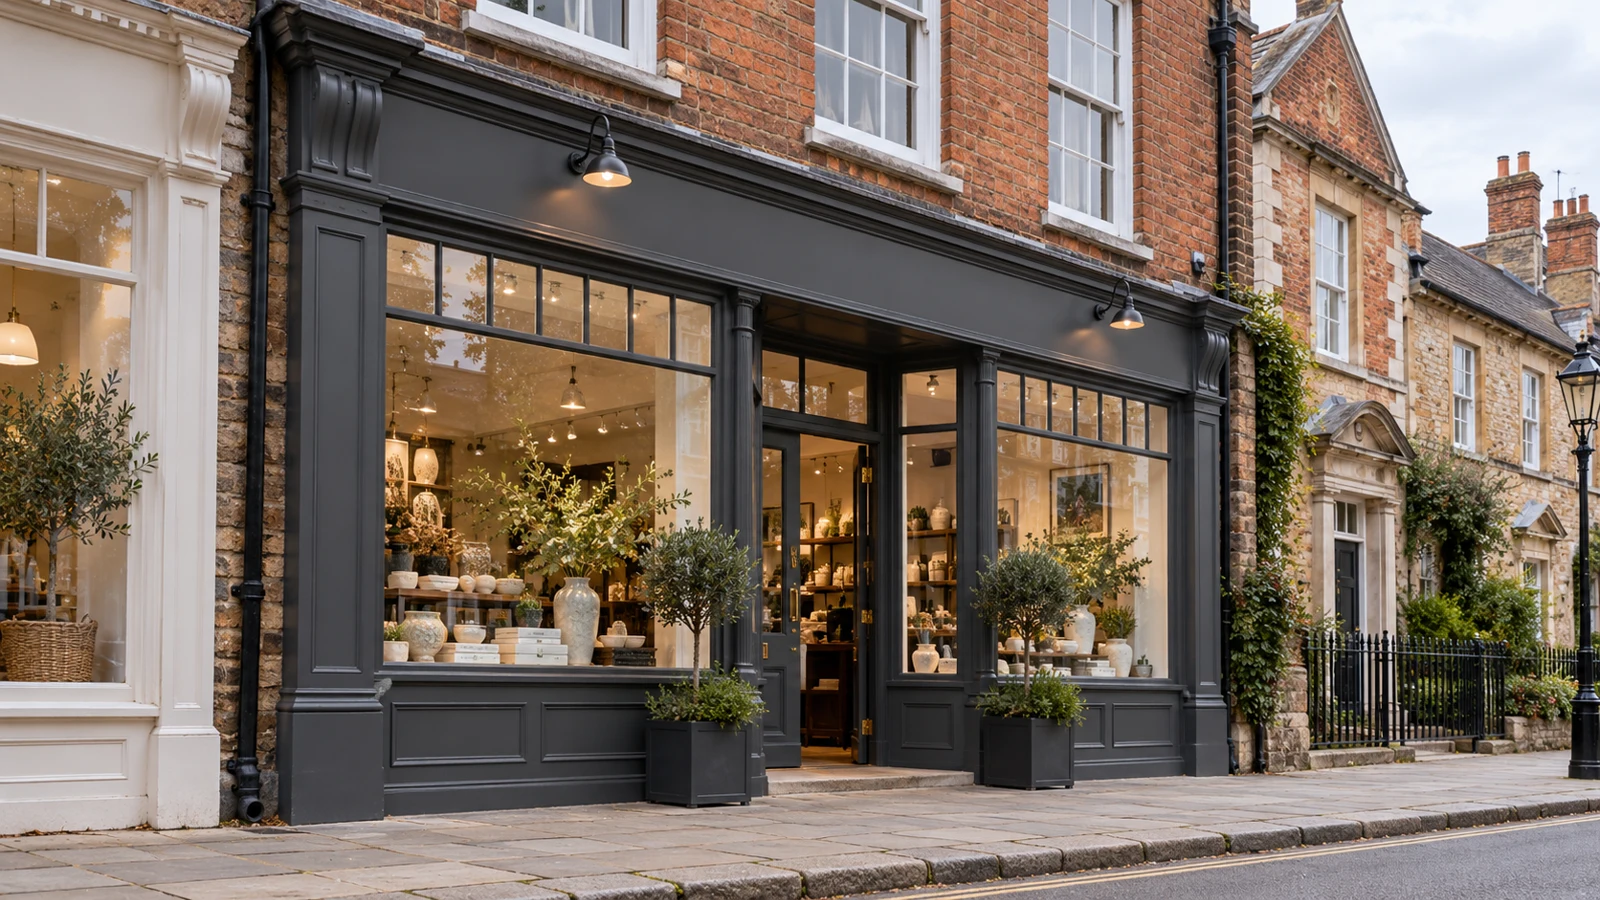
Take a straight-on photograph showing the full frontage, then mark the proposed sign area on a copy. Keep the original photograph as well. Label whether you mean the existing printed face, the full fascia band, a new panel over part of that band or individual letters fixed directly to the background. Those are different proposals even if they occupy a similar position.
If the frontage contains several panels, number them from left to right when viewed from outside. If it wraps around a corner, label the front and side separately. State whether the new design should cover the whole arrangement or only a particular panel. This simple naming system helps the quote, artwork discussion and eventual survey refer to the same parts of the building.
Label width, height and any known projections.
Write dimensions in millimetres and use width × height in that order. State what the figures describe. For example, an illustrative note might read: existing sign face approximately 4200 mm wide × 650 mm high, estimated from available ground-level information, survey required. That is much more useful than writing 4.2 × 0.65 without units or a description of the surface.
If you already have reliable building drawings or a previous sign drawing, send them and identify their date. Do not assume an old drawing still matches the frontage. Where a dimension cannot be checked safely, leave it blank or mark it unknown. Do not infer manufacturing dimensions from a photograph, count bricks as a precise scale or round a rough estimate into a supposedly exact measurement.
Send a small, well-chosen set of photographs.
Start with a full-frontage image taken as square to the building as practical. Add a wider street view showing the entrance and neighbouring features, followed by left and right oblique views. Use your phone’s normal camera view where possible and send the original files. A heavily cropped screenshot can hide the very information needed to understand the edges of the fascia.
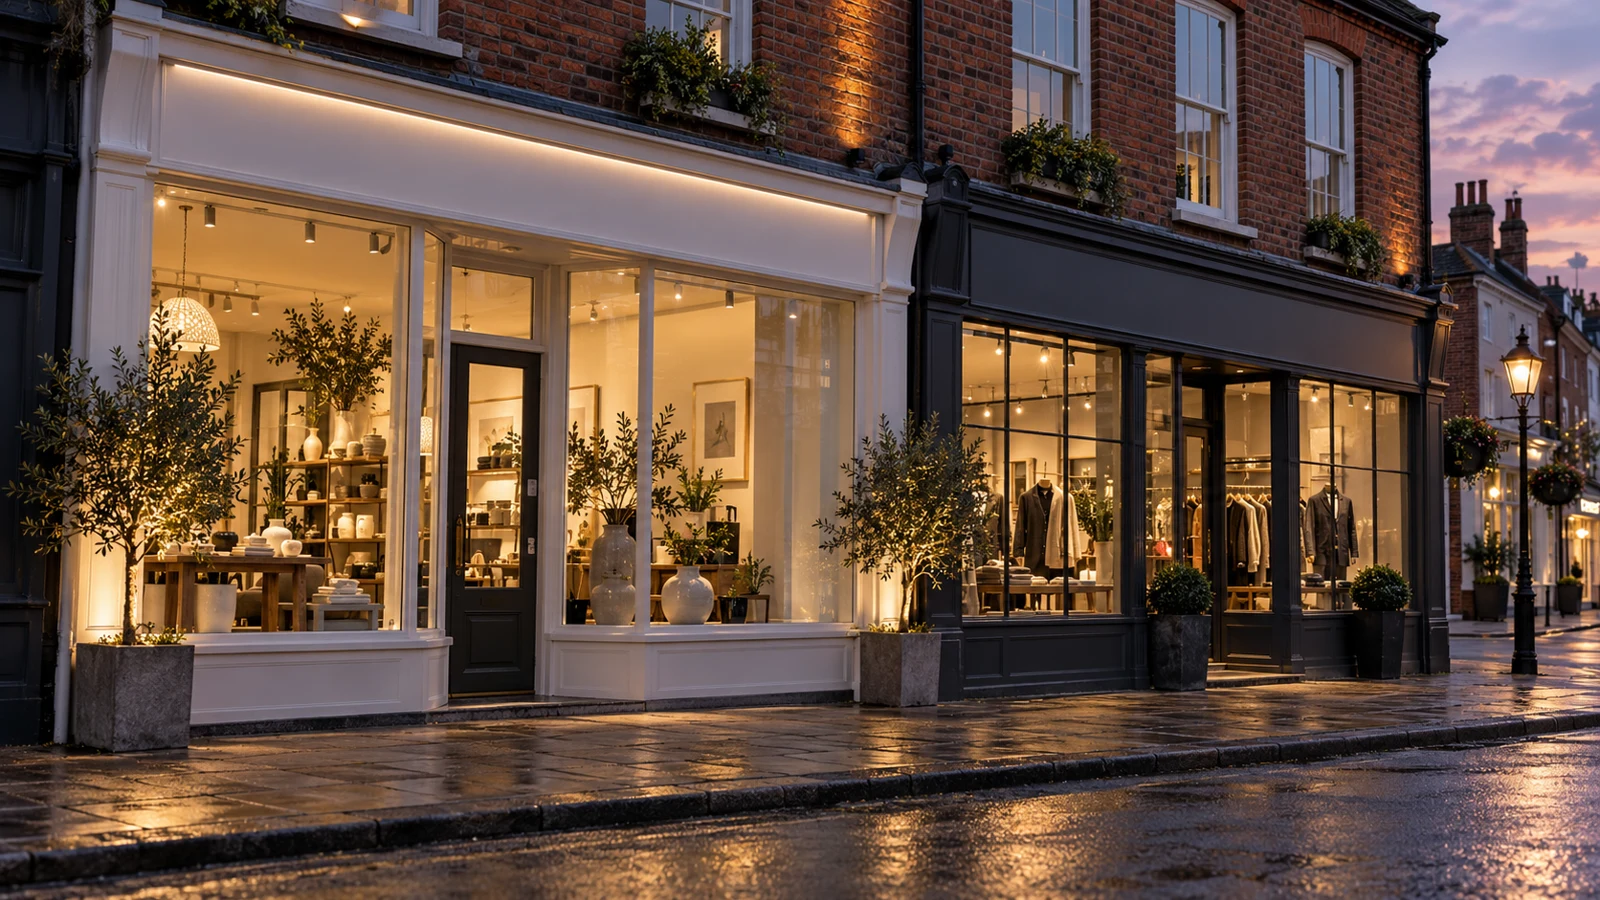
From safe public or authorised ground-level positions, photograph any visible obstruction: a canopy, shutter housing, downpipe, alarm box, camera or light fitting. Take close views only where they can be obtained without climbing or reaching into an unsafe area. Explain what each photograph shows. If the sign is illuminated, a normal evening photograph can help explain the desired appearance, but do not open any equipment.
Describe the existing fascia without dismantling it.
Tell us whether you want the current sign removed, covered, refreshed or assessed for reuse. Say what you know about its material and age, and be clear when you are guessing. If you have an invoice, drawing or maintenance record, it may help identify the existing construction. An accessible photograph is useful; taking a panel off to look behind it is not part of this initial checklist.
Note visible damage or areas where the surface looks uneven. Photograph the concern and leave investigation to the survey. If there are cables, existing lights or an illuminated sign box, identify them in the brief so the installation scope can include the appropriate specialist arrangements. Do not disconnect, modify or test electrical equipment to make a quote enquiry more complete.
Show how the fitting team would reach the frontage.
The sign dimensions are only part of the installation price. Explain what is below the fascia: a pavement, steps, parked cars, planting, a forecourt or a narrow doorway. State whether there are delivery hours, shared access arrangements or busy customer periods. Photographs should show the immediate working area so that access can be considered during the survey rather than after manufacture.
Include the site address and postcode, a contact person and any landlord or managing-agent requirements you already have. If work must happen outside your opening hours, say so early. Do not promise that a particular access method will fit merely because another contractor used it previously. The fitting arrangement will need to suit this job and the conditions at the time.
Add the information that shapes the design.
Send your logo in the best available original format, the exact business name and the wording you want on the sign. Identify the main message and the information that is optional. A fascia does not need to reproduce every line from your website. Tell us where customers will first see it and whether the priority is recognition from the road, reassurance at the entrance or visibility after dark.
If you have a preferred sign style, attach a reference and explain what you like: flat panels, individual letters, colour, depth or a particular finish. A reference image is a design starting point, not evidence that the same construction suits your building. If illumination is being considered, state the requirement so availability, specification and installation arrangements can be discussed before the design develops.
What happens after you send the measurements?
We can review the brief, clarify the intended sign and discuss an initial specification. The next step may be an indicative estimate, a request for another photograph or a site survey. Confirm whether a quoted figure is provisional and what information remains outstanding. That keeps the budget discussion useful while avoiding the impression that a rough customer measurement has been accepted for manufacture.
Before production, make sure the final size, wording, colours, construction and installation scope are agreed. Check the artwork proof carefully, including contact details and any directional information. Approval of the visual design should be clearly distinguished from responsibility for final site dimensions. If your opening date is fixed, tell us at the start so the required checks and approvals can be scheduled around it.
Your project checklist.
- Full site address, postcode and contact details.
- Original front, side and wider context photographs.
- Numbered sketch identifying each sign face or return.
- Width × height in millimetres, with estimates clearly labelled.
- Existing sign removal or reuse preference.
- Logo, exact wording, preferred style and target date.
- Access restrictions, opening hours and landlord requirements.
- Unknown dimensions listed for professional survey.
Your questions. Answered.
Can you quote if I cannot reach the fascia?
Send photographs and any existing drawings, and explain which measurements are unknown. We can discuss an initial estimate or arrange the next step without asking you to work at height.
Should I measure the panel or the whole frontage?
Identify both if you already have safe, reliable information, and label them separately. The important point is to show which area the proposed sign will occupy. Do not assume the existing panel fills the entire available fascia.
Can a phone photo provide the final dimensions?
A photograph helps explain the site, but it should not be treated as a reliable manufacturing measurement on its own. Perspective and lens effects can change apparent proportions. Final dimensions need an agreed verification method.
Do I need to remove the old sign before asking for a quote?
No. Send the information available without dismantling it. Removal, assessment of the background and any making-good work can then be considered as part of the agreed project scope.
Sources & further reading.
Sources checked for this draft on 18 October 2026. Product ratings apply to the stated product and test conditions; confirm the current specification for your order.
Put the advice into practice.
Tell us where the sign will go, what it needs to communicate and the date you are working towards. Our Norwich team can discuss the design, materials and fitting around your project.
Visit our Norwich workshop ↗ · Find signage for your sector ↗